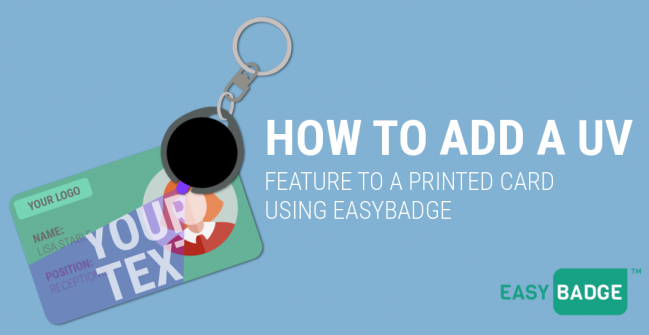
To add the UV feature to your printed cards, this needs to take place at the same time as printing a regular card.
To set the UV feature, you will need to adjust the printing settings when you are in the card design stage of EasyBadge.
Don’t worry, we’ve created a helpful video that shows you exactly how to do it.
In principle, the steps of the process are listed below:
- Open up the database in EasyBadge, then open up the card designer through the ‘Change the Design’ button in the middle of the page and clicking edit a design.
- Once in the design click the ‘New Graphic’ button on the left-hand side of the designer.
- This will open up the file explorer. Locate your desired UV pattern/Image and double-click it to incorporate it into the design.
- Once in the design make any size and placement adjustments using the blue boxes on the corners of the image.
- Once you’re happy with the placement and size right, click the image and go to ‘Layer > UV’.
- When you click UV, the image should go a see-through purple colour.
- When you next print your design using a fluorescent ribbon you should have UV applied to your card.
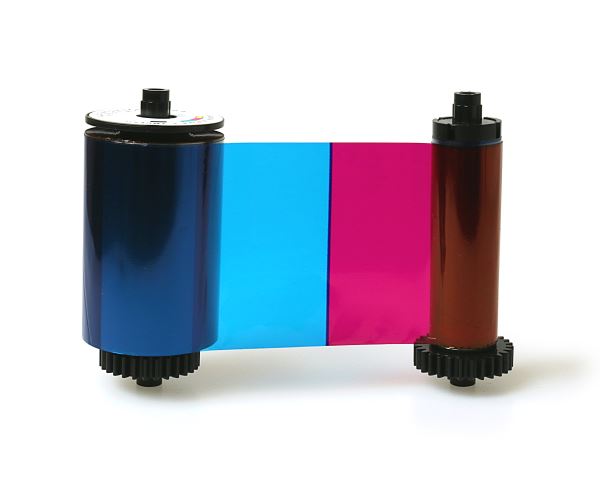
Don’t forget that this process will only work when using the EasyBadge 659339 YMCFKO UV colour ribbon.