The R5F002EAA YKMCO ribbon is the most popular choice of ribbon for the Evolis Zenius and an affordable choice if you’re looking to print high-quality ID cards.
However, the process of changing a ribbon in the Zenius remains the same whichever type you’re using. We’ve outlined the process below.
For optimum performance and to ensure your Evolis warranty isn’t voided, we recommend cleaning the Evolis Zenius every time the ribbon is changed too.
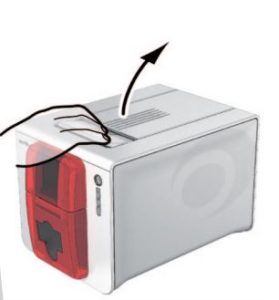
Step 1 – Open the cover
Open the top cover on your Evolis Zenius printer, as shown in the picture below.

Step 2 – Remove the old ribbon
Simply lift the old ribbon out of the printer. Remember it’s important that you dispose of your printer ribbons properly because they can often contain sensitive data that have been printed onto cards.
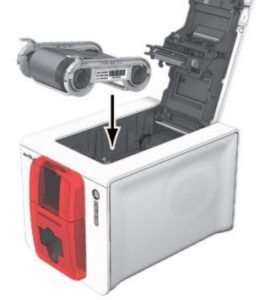
Step 3 – Insert the new ribbon
Once you’ve removed the new ribbon from its protective packaging, simply insert it as shown in the picture below. Ensure the part of the ribbon with two plastic hooks is positioned at the front end of the printer.

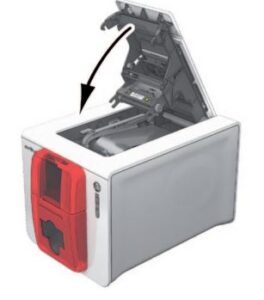
Step 4 – Close the top cover
Once the printer ribbon is in position, close the top cover ensuring that you hear a click. The ribbon is now locked in place.

Changing a ribbon on this printer is a really simple process, so you shouldn’t run into too many problems. However, if you need troubleshooting advice get in touch with our technical support team.


